Note: To send an email, make sure that you have verified domain to send email.In BrokerOS, start by navigating to the “Marketing” tab on the left side, then select “Email Campaigns” from the dropdown menu.
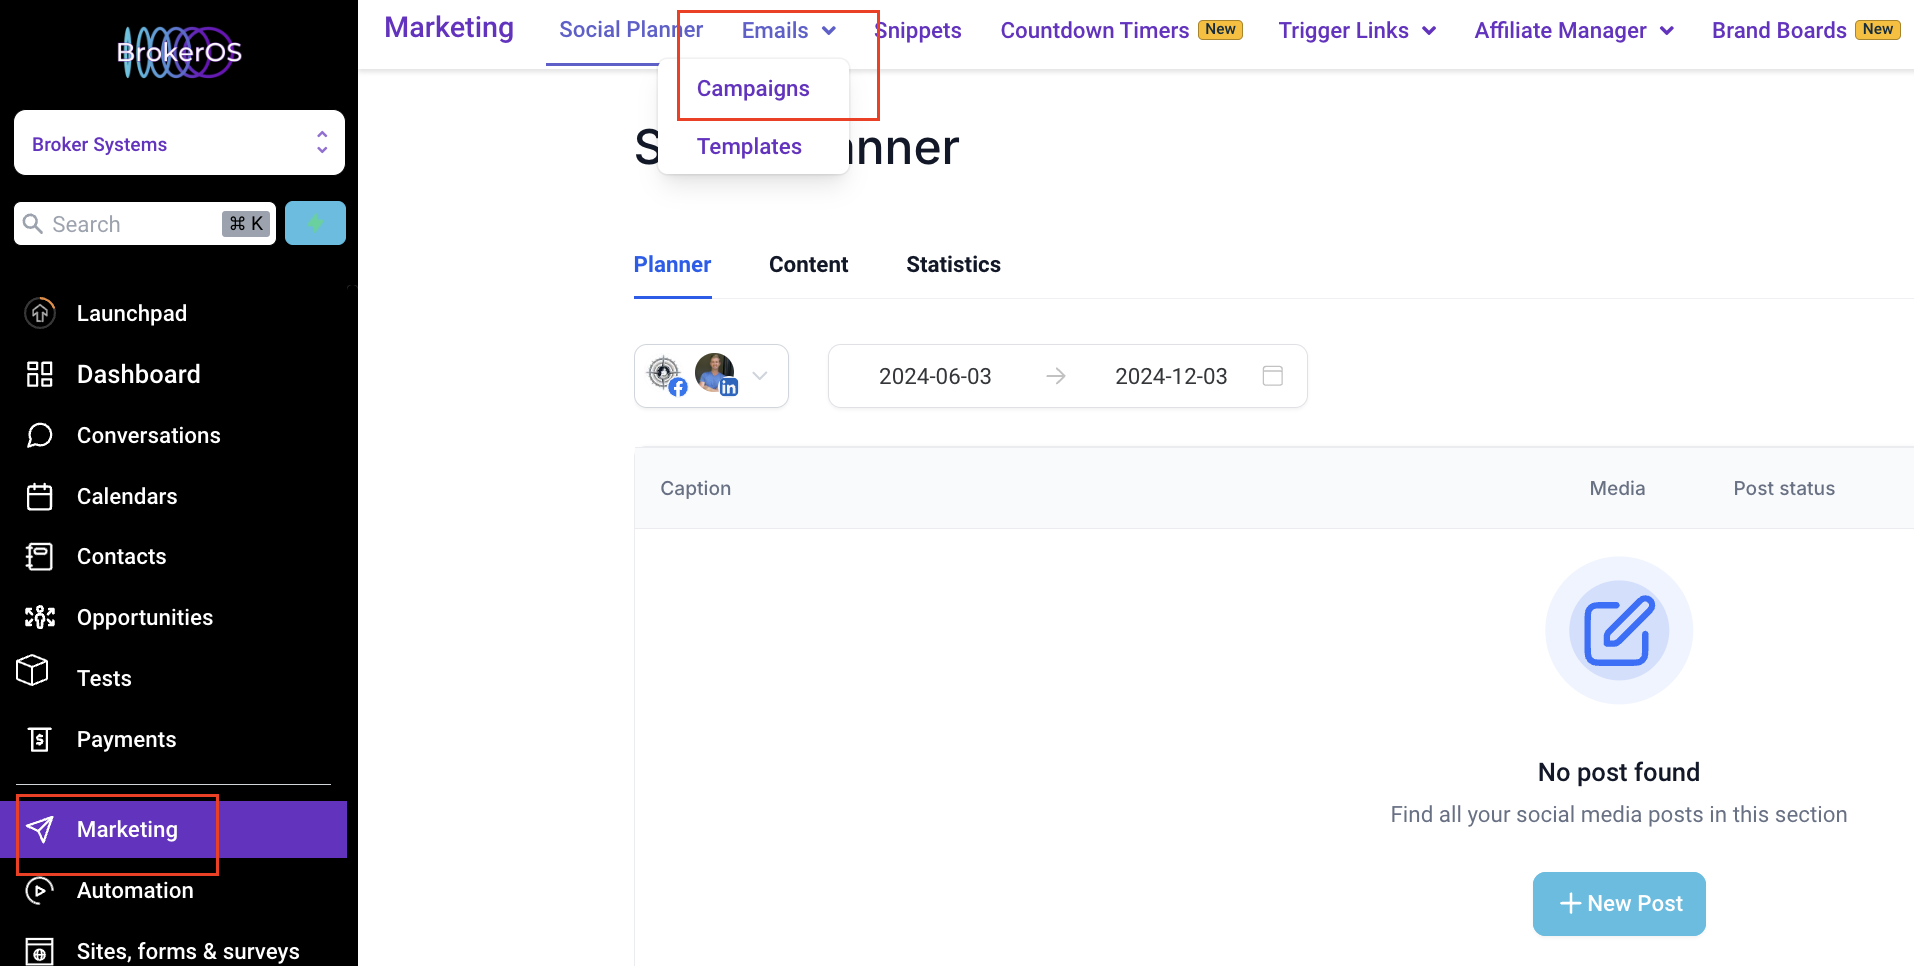
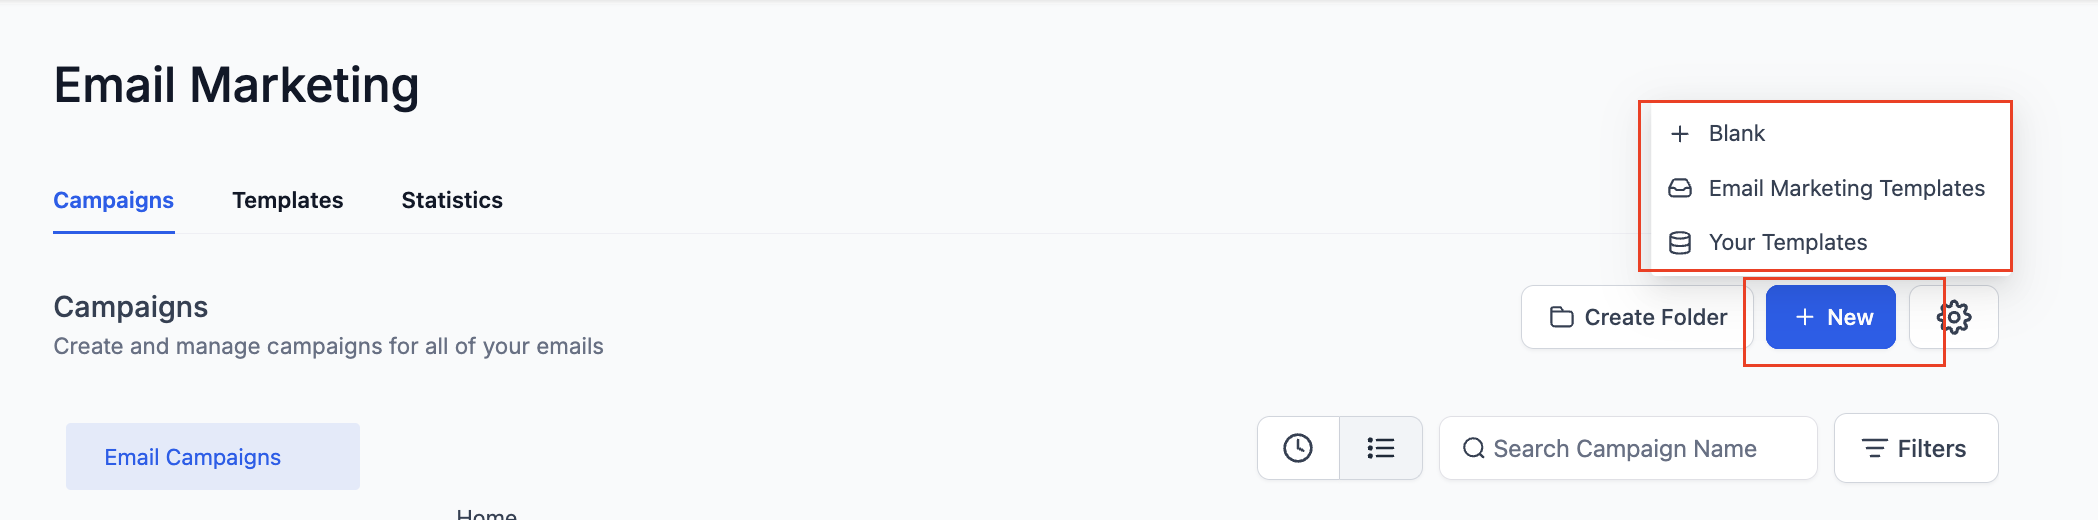
Click on “+ New Campaign.” You can select from:
Blank - Build Campaign from Scratch
Email Marketing Templates - Use existing BrokerOS templates
Your Templates - Use your saved email campaign templates
Enter a name for your campaign.
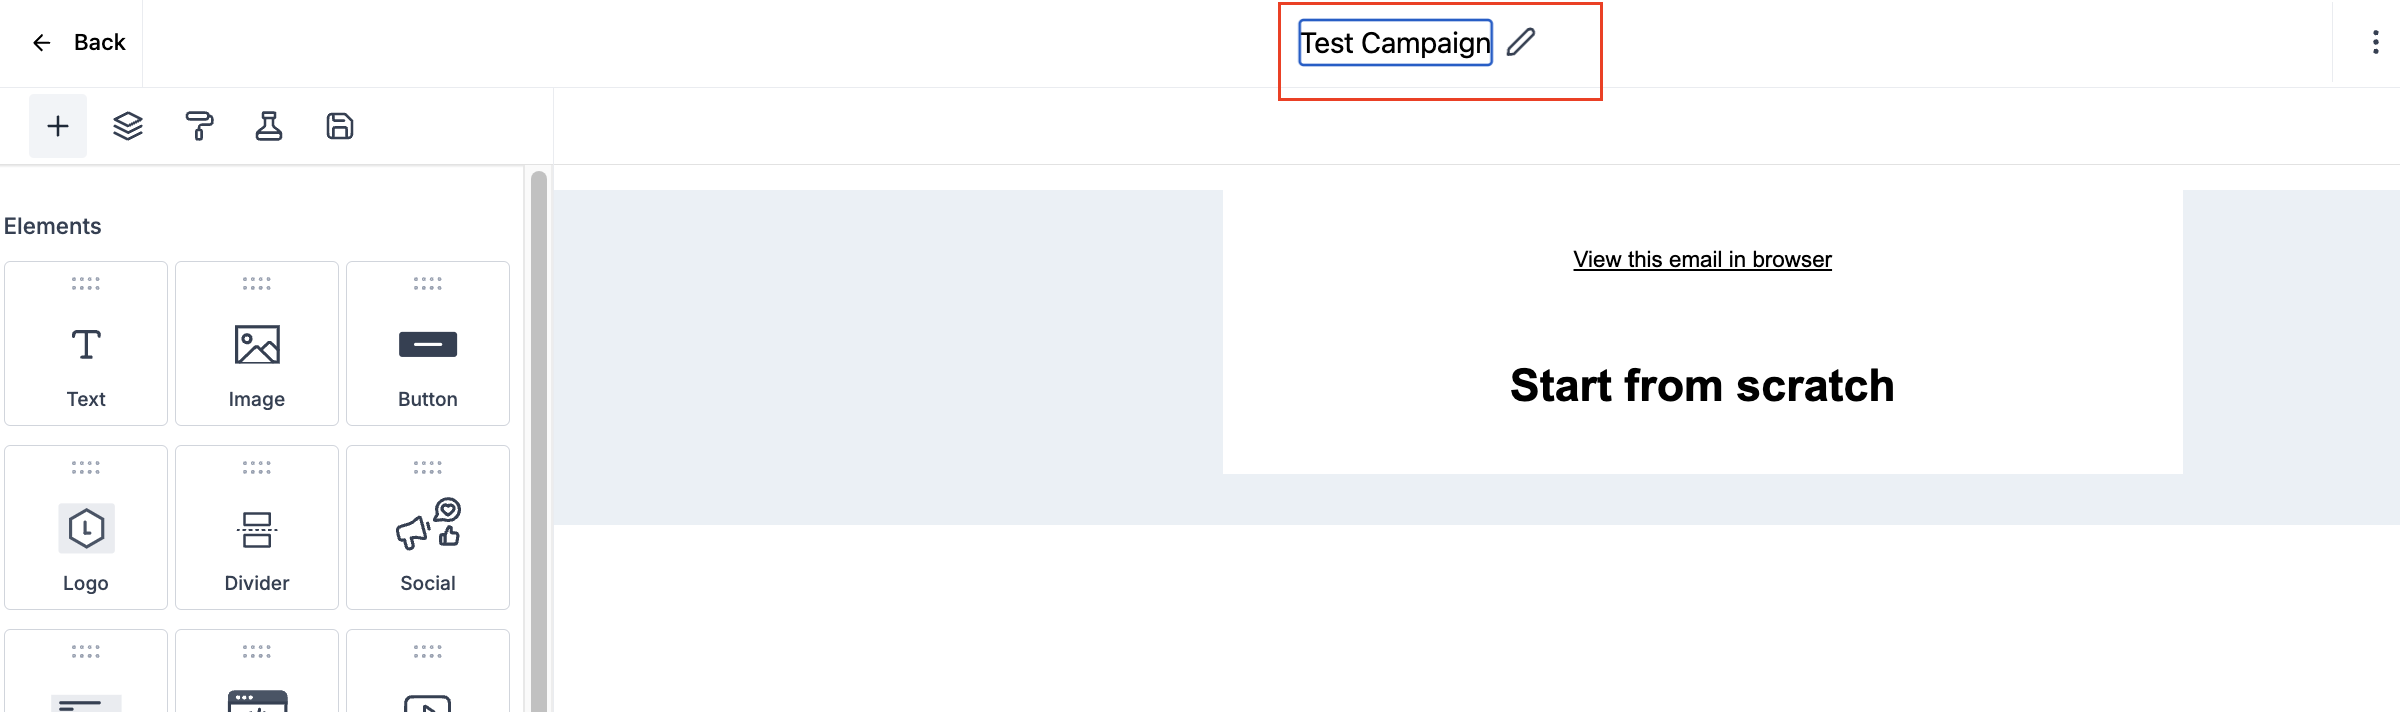
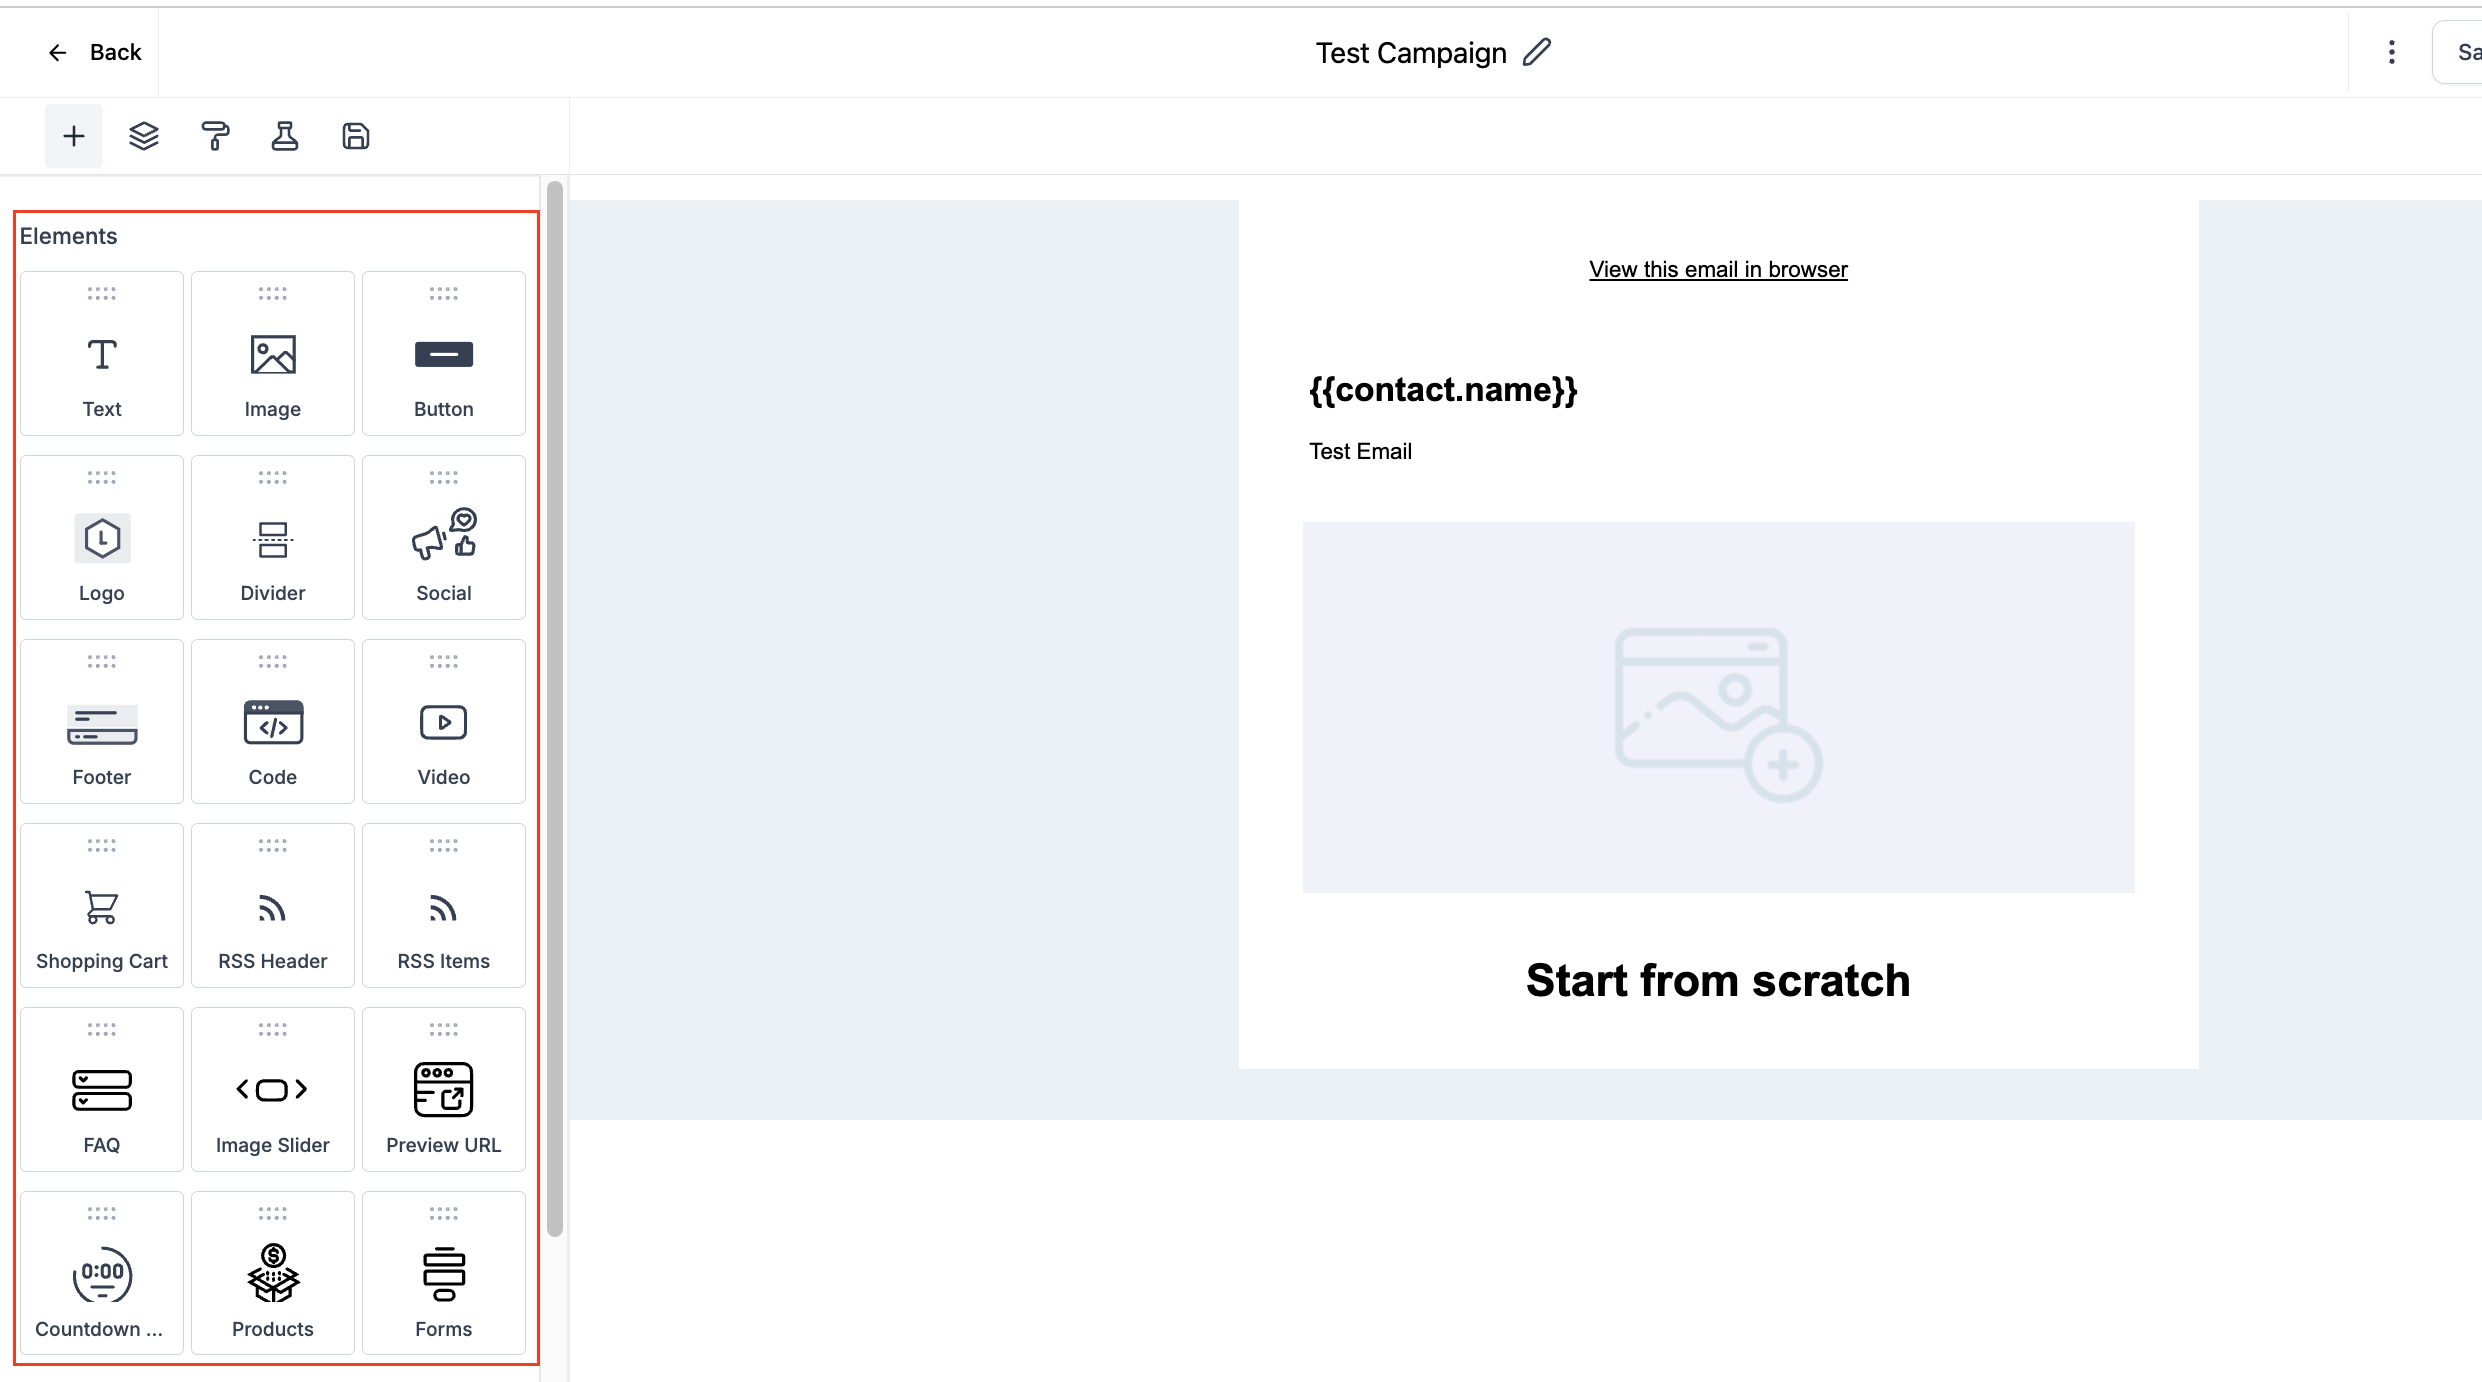
Use the provided email editor to draft your message. You can add text, images, links, and other elements to customize your content.
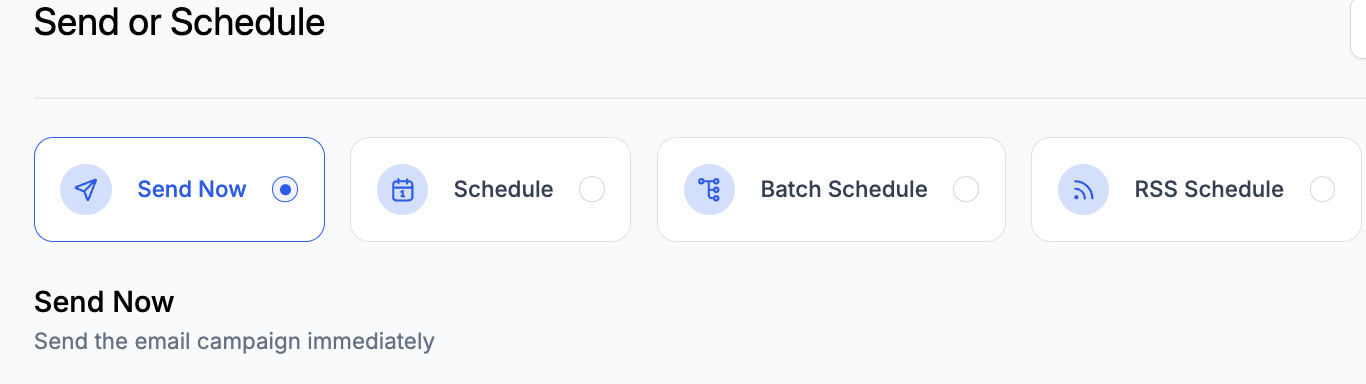
Send Options:
You have the choice to “Send Now” or “Schedule.” If you choose “Send Now,” the campaign will be sent immediately to your selected audience. If you prefer to schedule, select a future date and time for the campaign to go out.
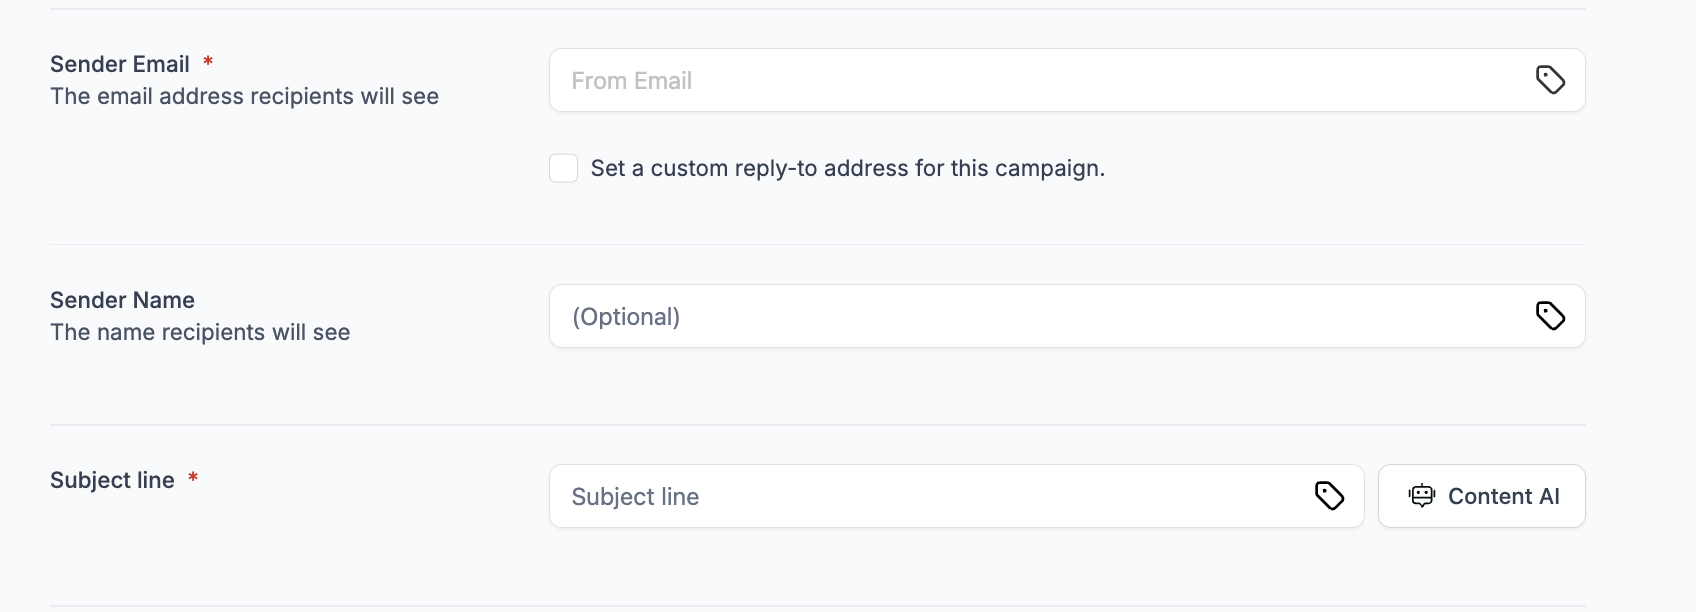
Set Sender Email, Sender name and Subject Line:
Add the sender email, sender name and the subject line for your email campaign.
Set Recipients:
Select the audience for your campaign by choosing a list of contacts or filtering recipients based on tags or custom criteria.

Review and Confirm:
Double-check your email content, recipient list, and settings. Once everything is ready, click “Send” to finalize.